Getting more product reviews on Amazon can be a challenge, but it is essential for boosting sales and building credibility. That is where Helium 10’s Seller Assistant comes in, a free Chrome extension that makes requesting reviews quick and effortless.
With just a few clicks, you can send bulk review requests directly from your Amazon Seller Central account, saving time and increasing customer feedback.
In this guide, I will walk you through installing and using Helium 10 Seller Assistant so you can maximize your product reviews and grow your business with ease.
What Is Helium 10 Seller Assistant?
Helium 10 Seller Assistant is a free Chrome extension designed to streamline the process of requesting product reviews from Amazon customers. It seamlessly integrates with your Amazon Seller Central account, adding a convenient “Request a Review” button to your order pages.
With just one click, you can send review requests, saving valuable time and effort while enhancing your customer feedback management. This tool simplifies the process and helps improve your product visibility and credibility on Amazon.
Why Reviews Matter On Amazon?
Before diving into Seller Assistant, let’s understand why reviews are crucial for your success on Amazon:
- Higher Sales: Customers rely on reviews to assess product quality. Products with more positive reviews tend to attract more buyers.
- Brand Authenticity: A high number of reviews enhances your brand’s credibility and fosters customer loyalty.
- Pricing Advantage: Products with numerous positive reviews can command higher prices compared to competitors.
- Reduced Advertising Costs: As your product gains more reviews, you may need to spend less on PPC advertising to achieve the same sales volume.
How To Install And Use Seller Assistant? (Step-by-step Guide)
Follow these steps to install and use Helium 10 Seller Assistant.
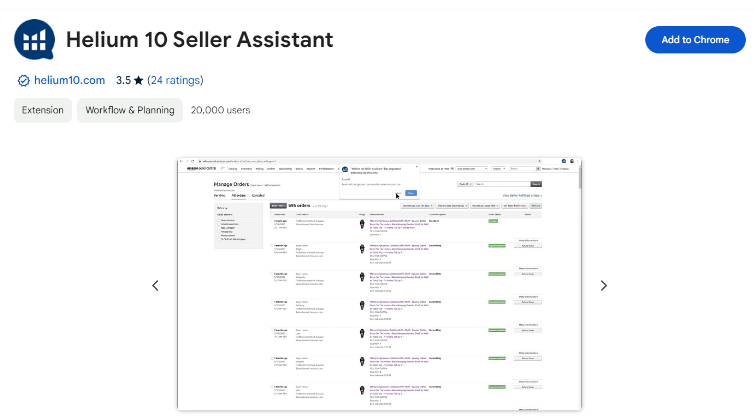
Step 1. Download the Seller Assistant extension from the Chrome web store and add it to your extensions.

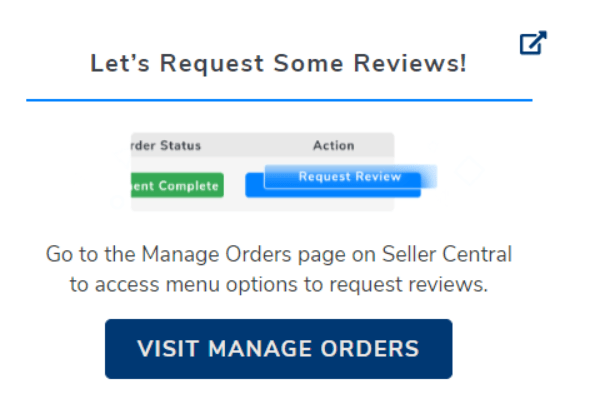
Step 2. When you open the extension, you will see an option “Visit Manage Orders.” Click on it to connect it to your Amazon Seller Central.

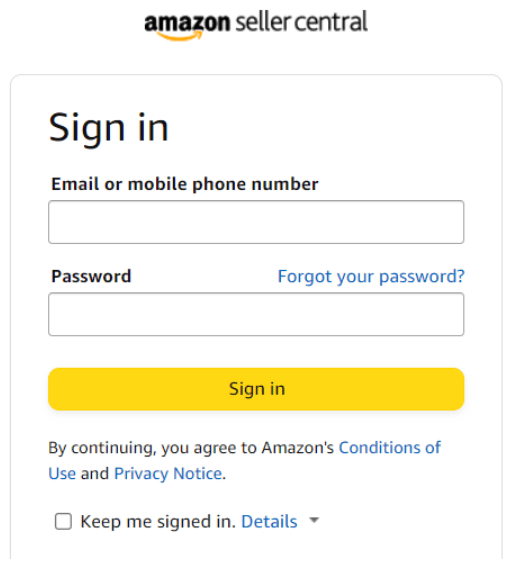
Step 3. Next, connect the extension to your Seller Central. Log into your Seller Central with credentials.

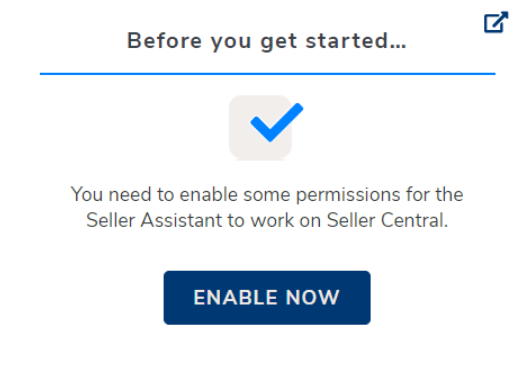
Step 4. After loggin in, go to the extensions tab again and click on the “Enable Now” button to activate the Seller Assistant for your seller account.

Step 5. Navigate to the “Manage Orders” page under the “Orders” menu.
Step 6. Click on the “Request Reviews On This Page” icon to send review requests for eligible orders.
Note: The Seller Assistant doesn’t work for the EU region. If your account is based on this region, you can manually send review requests from the Manage Orders section. Click the “Review Request” option to send requests to the customer’s email address.
Eligibility For Review Requests
To maintain compliance with Amazon’s Terms of Service, keep these points in mind:
- You can only send review requests for orders placed between 5 and 30 days ago.
- Some orders may not be eligible for review requests if the customer has unsubscribed from receiving such emails.
Advantages Of Seller Assistant Over Amazon’s Built-in Review Request Feature
While Amazon provides a built-in review request button, Seller Assistant offers several advantages:
- Bulk Requests: Seller Assistant allows you to send review requests for multiple orders at once, saving time compared to clicking the request button for each order individually.
- Compliance: By using Seller Assistant, you ensure that your review requests comply with Amazon’s Terms of Service.
Tips For Maximizing Your Reviews
Here are some tips for maximizing your product reviews on Amazon:
1. Provide Exceptional Customer Service: Ensure your product ships quickly, is accurately described, and that any issues are resolved promptly. Positive customer experiences lead to more organic positive reviews.
2. Request Reviews Strategically: Use Amazon’s Request a Review feature to reach out to customers 4-7 days after delivery. Personalized requests tend to be more effective than automated messages.
3. Use Review Automation Tools: Services like Helium 10’s Email Automation can help you systematically request reviews and monitor your review profile. However, follow-up tools like this require an active Helium 10 plan.
4. Respond to All Reviews: Engage with both positive and negative reviews. Thank customers for positive feedback and address any concerns constructively.
5. Offer Incentives Carefully: Provide small, non-monetary incentives like extended warranties or exclusive content to encourage reviews. Avoid anything that could be seen as bribery.
6. Optimize Product Pages: Ensure your product titles, descriptions, and images convey the full value of your offering to set accurate customer expectations.
7. Monitor Competitor Reviews: Keep an eye on how your competition is managing their reviews and identify areas where you can differentiate or improve.
8. Maintain Review Hygiene: Frequently remove any fake, incentivized, or policy-violating reviews to keep your overall review profile healthy.
How Is The Review Request Button Helping Amazon Sellers?
The “Review Request” button integrated into tools like the Helium 10 Seller Assistant is a game-changer for Amazon sellers. This feature automates the process of requesting reviews from customers, making it easier for sellers to stay within Amazon’s guidelines while boosting their product reviews.
Positive reviews are crucial for improving product visibility, trustworthiness, and sales on Amazon. By streamlining the review request process, sellers can focus on other aspects of their business while still enhancing their product’s reputation and ranking, leading to increased customer loyalty and conversion rates.
This automation reduces manual effort and ensures that sellers consistently follow up with customers after a purchase, ultimately leading to a higher volume of reviews.
Related Reads:
Conclusion: Manage Amazon Feedback & Reviews With Seller Assistant
Helium 10’s Seller Assistant is a game-changer for Amazon sellers looking to boost their product reviews and sales. The tool simplifies the review request process and ensures smooth compliance with Amazon’s terms of service.
Seller Assistant saves you time from manually sending review requests to every customer individually. Follow the aforementioned guide to install this tool and use it for free.
FAQs
Helium 10 Seller Assistant is a free Chrome extension that helps Amazon sellers request product reviews easily.
It adds a “Request a Review” button to your Amazon Seller Central, allowing you to send review requests with one click.
Download it from the Chrome Web Store, connect it to your Amazon Seller Central, and enable it from the extension settings.
Yes! Seller Assistant lets you send multiple review requests at once, saving time compared to Amazon’s built-in request feature.
Yes, it follows Amazon’s Terms of Service, ensuring compliance with their review request policies.

